Want to learn how to hang your ink organizer? This blog post will easily explain how to use the set of wall anchors and screws. (Available for purchase here)

Here's a close look at the two wall anchors and the two screws that come in one pack. You can also find these at your local hardware store. The wall anchors make it easy to hang an organizer anywhere! They are built to be used on plain drywall. So no wall studs are needed! Plus, the two wall anchors will provide a secure placement.
(*note....these work in drywall only.) If you're planning on hanging your organizer directly in a stud, you won't need these. You will only need screws. In fact you may want to look into purchasing 1 5/8" Drywall Screws. These may work better than the ones provided since they will be longer.

Inside the top cubby of your ink organizer, there are two holes. (one on each side)

Step 1: Hold up the organizer against the wall. Once it's level, take a pencil and put a mark on the wall. This will show you where to place the screws.

This is what the mark will look like after you remove the organizer.

Step 2: Screw the wall anchor into the drywall until it's flush with the wall.

This is what it will look like.

Step 3: Now you are ready for the screws. Important: These screws will need to stick out about 1/2 inch. Turn the screwdriver until you hear a "pop" sound. This is when the anchor is locked into place. Once the sound is heard, stop turning the screwdriver so it leaves the screw perfectly distanced from the wall. (about 1/2 inch) Don't screw it in to far, because unscrewing will only mess up the wall anchor.

This is how it should look once it's ready for the organizer to be hung.

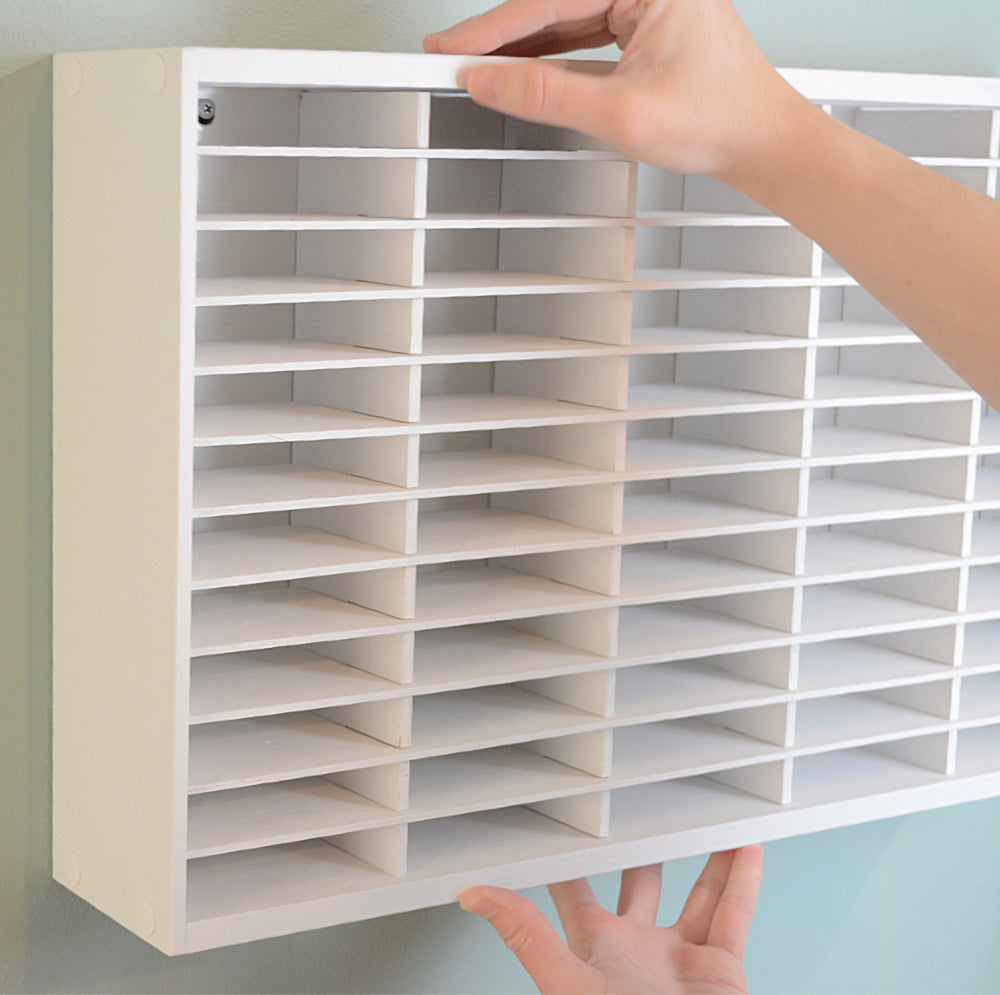
Step 4: This is the fun part! You can finally hang your organizer!

Now it's ready to be filled with ink pads!

If you have any questions, feel free to email us at www.organizemore.com.
We hope you enjoy hanging up and organizing your ink organizer!
Happy Organizing!